My mom’s birthday is this month, and I’ve wanted to make her
some cute placemats for her birthday. The idea I had was to make reversible
placemats for two holidays. I originally had this idea for Christmas, but I
didn’t have time to make them as a Christmas gift, so I thought I’d make an
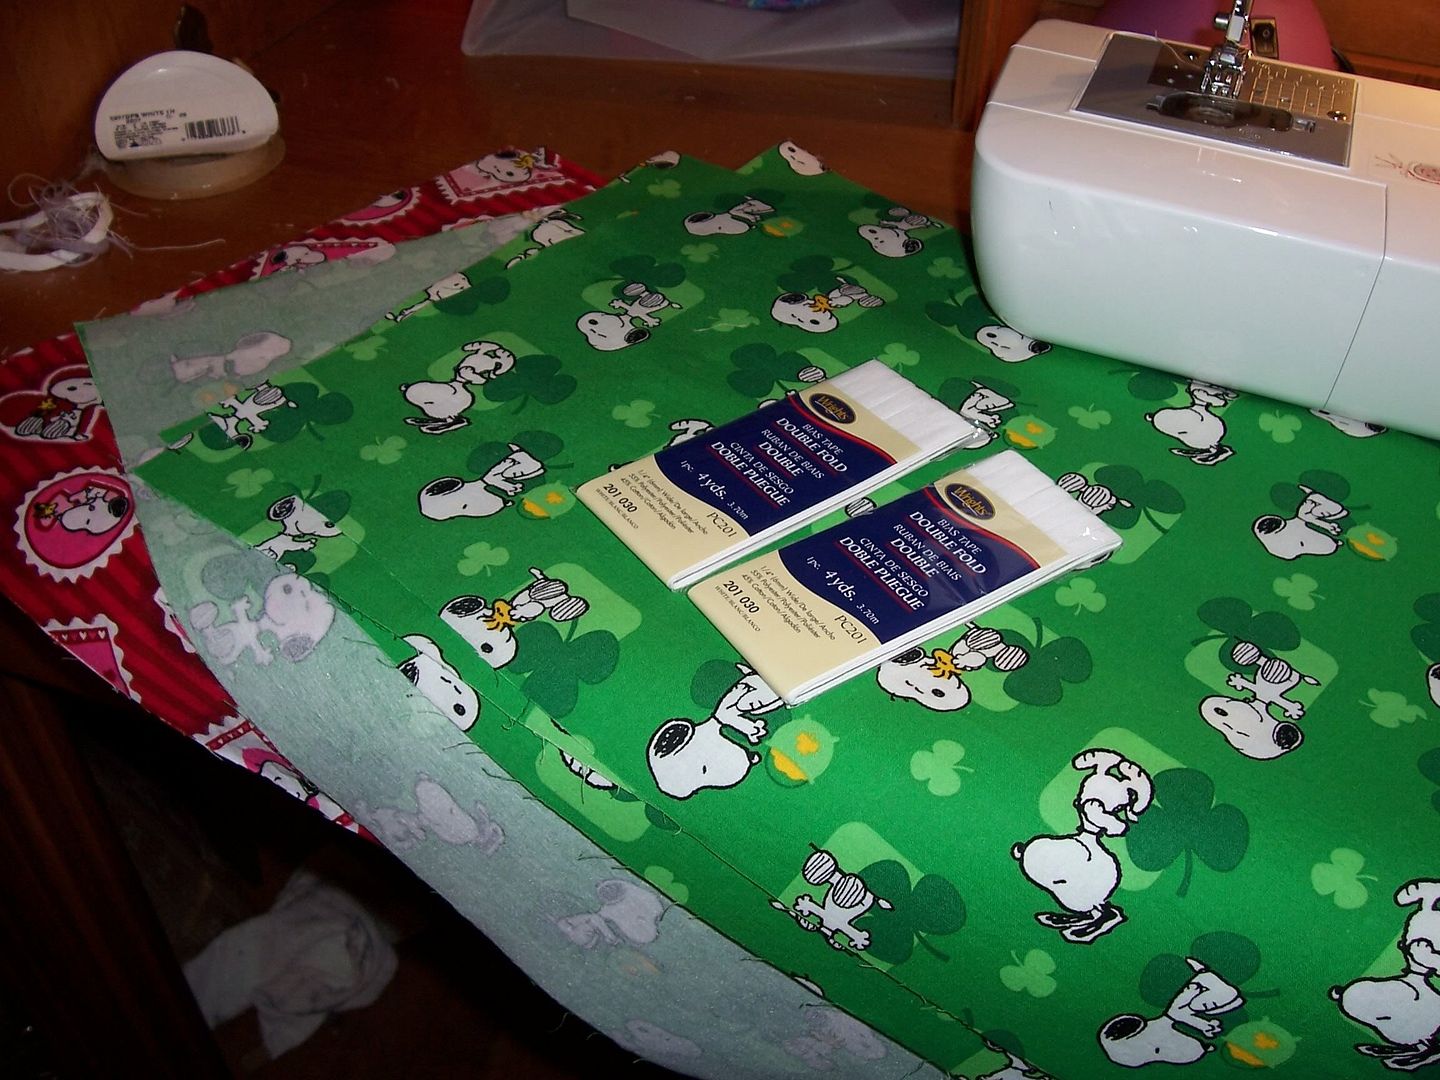
early birthday gift instead. These placemats are (Peanuts!) Valentine’s Day-St. Patrick’s Day themed. My mom and I
love Peanuts, so when I saw this
fabric, I knew they’d be perfect. I based them off of the tutorial here.
 |
| I was very uncomfortable cutting through poor little Snoopy’s face. |
For four 12” x 18” placemats, you need
- 1 yd each of two fabrics
- light- or medium-weight fusible interfacing
- 7 – 8 yd of ¼” double folded binding
First off, pre-wash, dry, and press your fabric. Then cut
out four 12” x 18” rectangles from each fabric. This is a lot easier if you
have a rotary cutter and mat. Unfortunately, mine are two states away right
now, so my edges aren’t exactly straight. Remember to pay attention to your
cutting if your fabric is directional.
Cut out four 12” x 18” pieces of your interfacing and fuse
to four of your fabric pieces according to the manufacturer’s instructions. I
chose to fuse to the St. Patrick’s Day fabric, but it doesn’t really matter
which one you pick as long as you’re consistent.
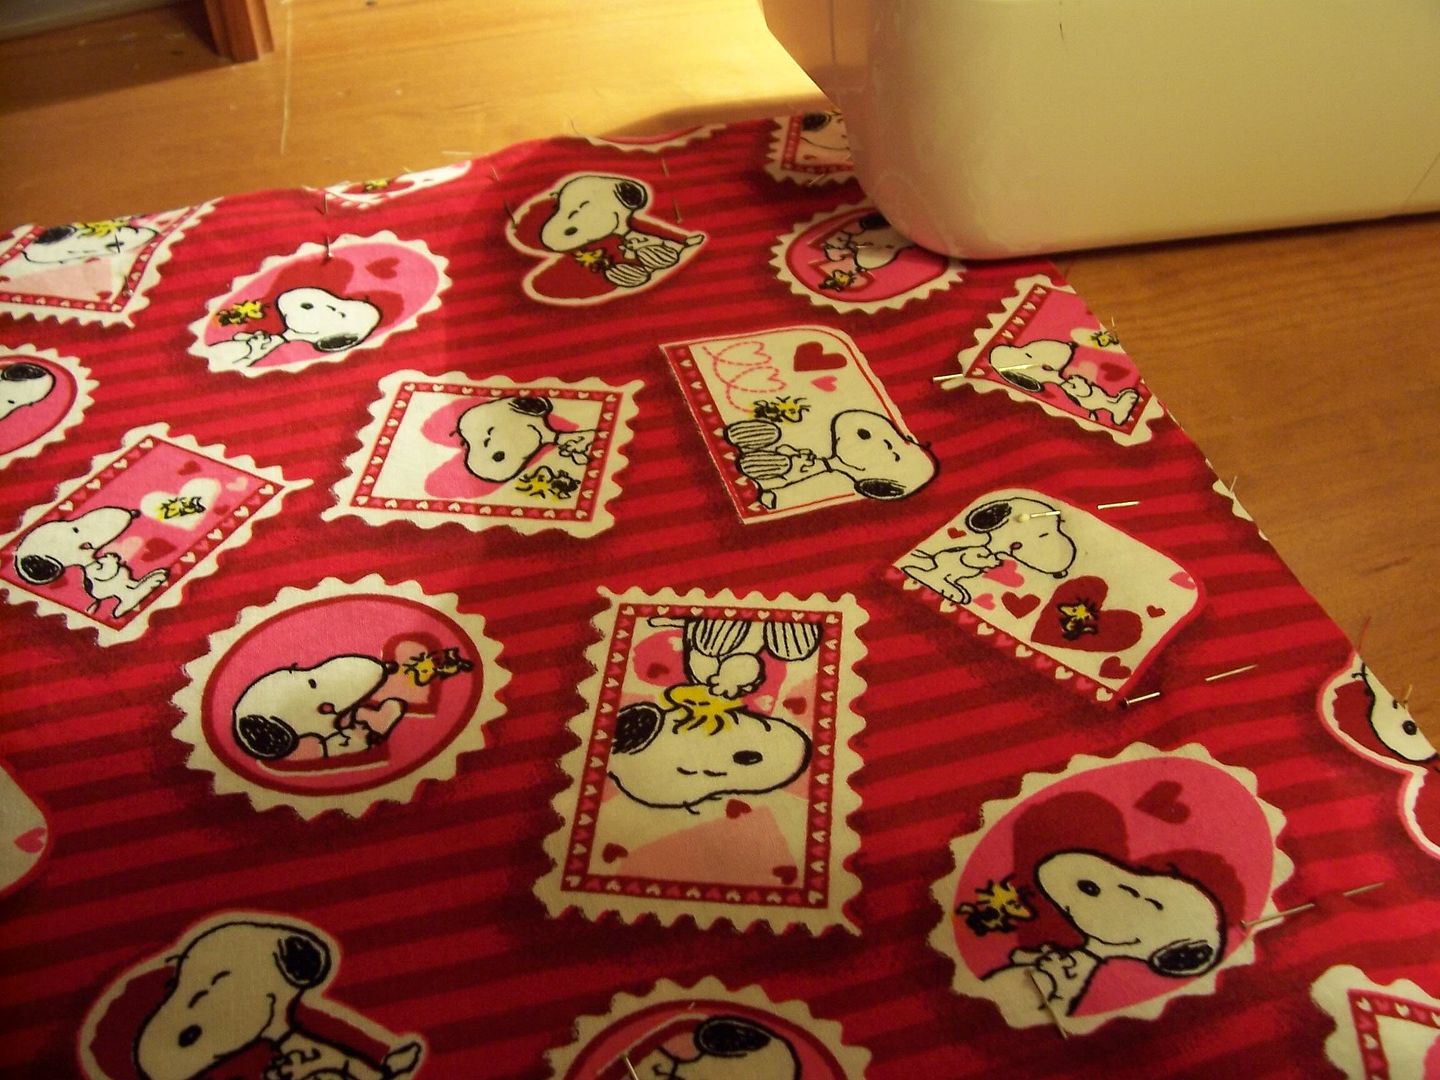
Pin two sides of your placemat together, wrong sides
together. If you’re bad at using scissors, like me, trim up uneven sides so
they approximately match up.
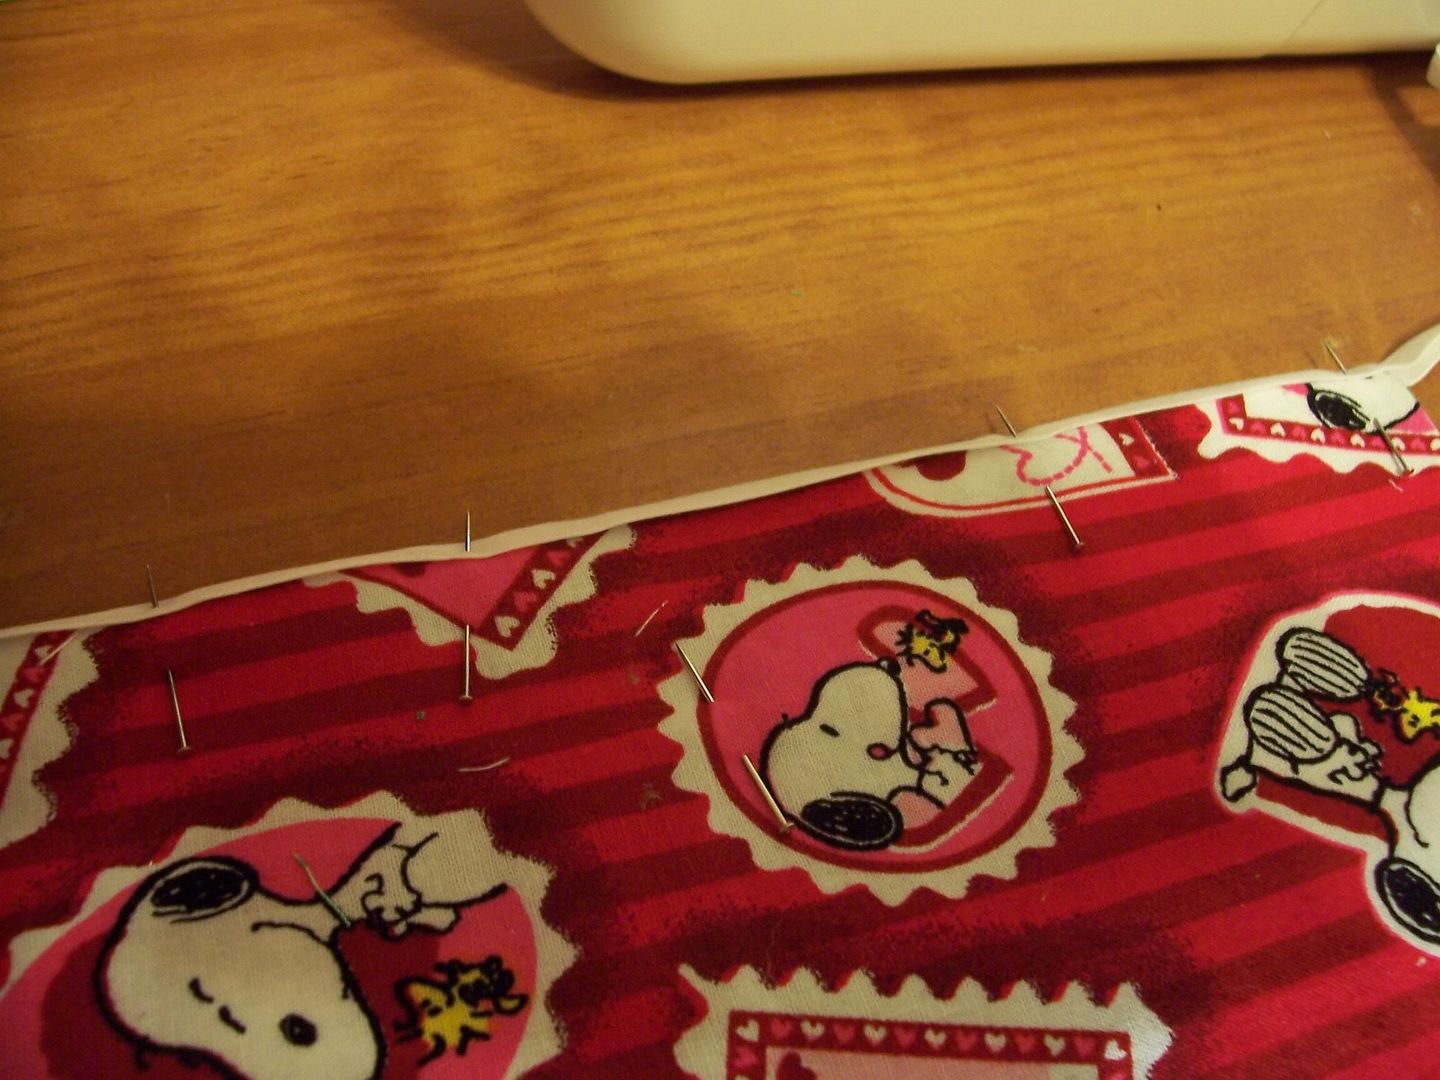
Insert the edges of your pinned placemats into the bias and
pin in place. When looking at your bias tape, you’ll notice that one end is slightly
shorter than the other. Remember which side that is because you’ll be sewing
with that side up. I started pinning the bias tape in the middle of the bottom
of the placemat. (The St. Patrick’s Day fabric is one-directional.)
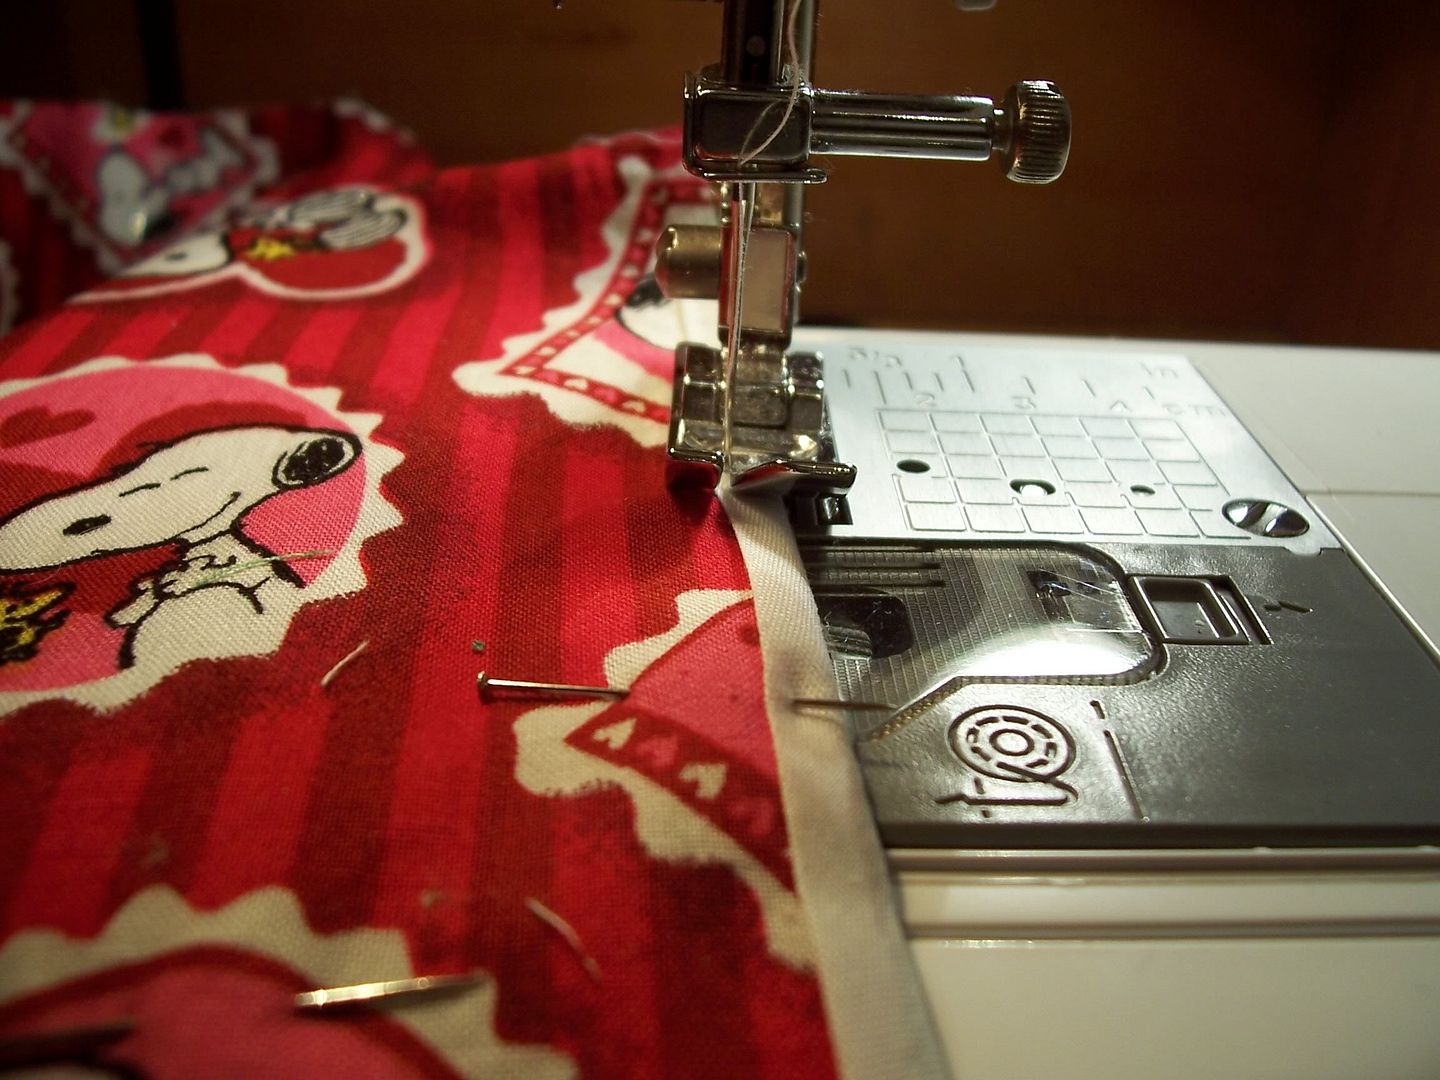
Sew as close to the edge of the shorter side as possible.
Because my skills aren’t all that great, I’m not able to sew as close as I’d
like to because it makes my drunken stitches more obvious. I need more
practice.
When you get to a corner, keep sewing until the edge.
Backstitch and cut your threads.

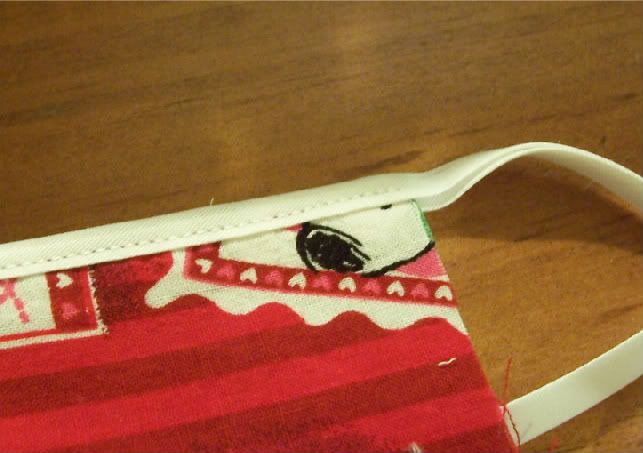
Fold the tape along the corner and fold in the excess
fabric. Pin in place. This creates a faux-mitered corner. Return to your sewing
machine and backstitch along your previous stitching line until you get close
to the faux-mitered corner. Raise your presser foot and pivot. Lower your
presser foot and continue stitching as before.
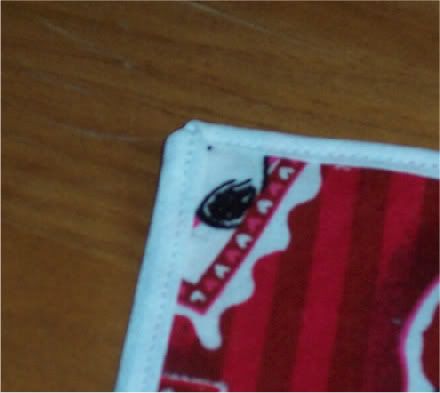 |
| A little blurry, but you get the idea |
Repeat for other three corners.
I forgot to take pictures of the last step (this whole picture tutorial thing is still new to me), but there are (better)
illustrations in the tutorial I linked above. When you get back to your
starting point, cut off the binding, overlapping by half an inch or so, and
fold in the raw edge. Line up the edges on both sides to match the beginning,
and stitch in place to match the original stitching line. Backstitch and trim your threads.
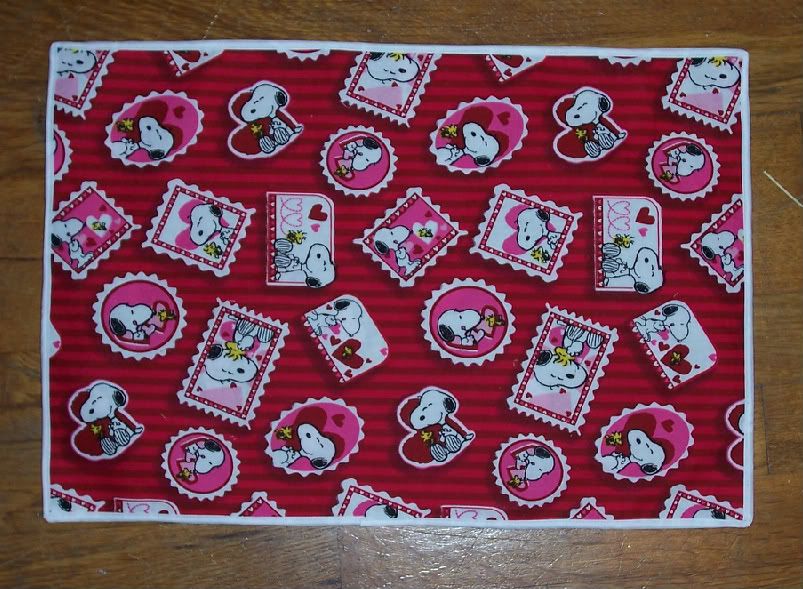 |
| Valentine’s Day Side |
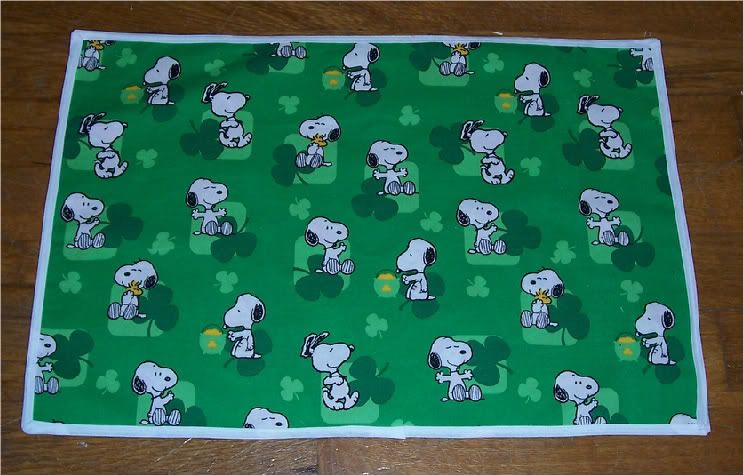 |
| St. Patrick’s Day side |
You now have one finished reversible placemat! Repeat for as many
placemats as you desire.
You’ll notice I’m not zooming in on the edges on the St.
Patrick’s Day side. That was on purpose. It doesn’t look as nice as the
Valentine’s Day side. It’ll get better with practice, though, I’m sure. (Plus,
who’s going to be looking at my poor binding techniques when you have cute
little Snoopy and Woodstock there!)
Now I get to figure out what cute things to make with the leftover fabric! :D
Now I get to figure out what cute things to make with the leftover fabric! :D
No comments:
Post a Comment